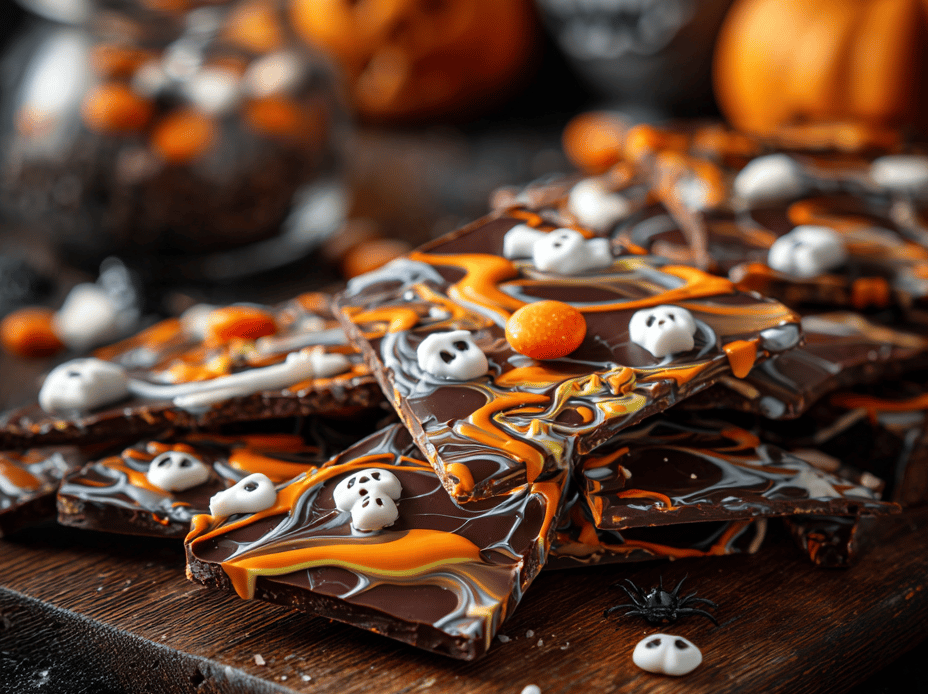
Halloween bark is my go-to when I want a quick, impressive treat that doesn’t involve baking. It’s a no-fuss way to indulge in the season’s spooky spirit, with a chance to get a little messy and creative. The best part? You can customize it endlessly, from creepy ghosts to eerie spiders.
Why I Keep Coming Back to This Halloween Treat
It’s a quick project that satisfies my craving for something sweet and spooky. The mess is minimal, but the results are endlessly creative. Plus, it’s perfect for last-minute parties or when I want to impress without stress. Every batch feels like a small, edible piece of Halloween magic.
Ingredients & Their Spooky Secrets
- Dark chocolate: Rich, slightly bitter base that melts smooth and shiny, making it ideal for spooky designs.
- White chocolate: Bright, creamy contrast—use for ghostly accents or drizzle effects.
- Halloween sprinkles: Colorful, crunchy toppings that add a pop of festivity and texture.
- Candy eyes: Fun, creepy eyes that make your bark come alive with personality.
- Crushed cookies or pretzels: Oozy, salty bits that mimic dirt or bones, adding crunch and flavor.
- Edible glitter: Shimmering dust that gives your bark a mystical, spooky glow.
- Food-safe black or orange coloring: To tint white chocolate or add eerie streaks—use sparingly for a smoky effect.
Tools of the Spooky Trade
- Microwave or double boiler: To melt chocolate evenly without burning.
- Spatula: To spread melted chocolate smoothly across the baking sheet.
- Parchment paper or silicone mat: To prevent sticking and make cleanup a breeze.
- Sharp knife or break apart by hand: To break the cooled bark into rustic shards.
Crafting the Creepy Confection: Step-by-Step
Step 1: Line a baking sheet with parchment paper or a silicone mat.
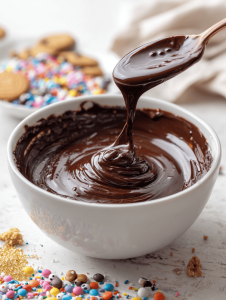
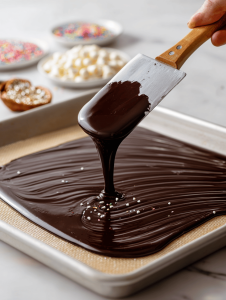
Step 2: Melt your chocolate in a heatproof bowl over a double boiler or in short bursts in the microwave, stirring often.
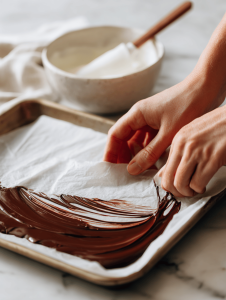
Step 3: Pour the melted chocolate onto the prepared sheet, spreading it thin and even with a spatula.
Step 4: Add your spooky toppings—think crushed cookies, orange and black sprinkles, edible glitter, or candy eyes—while the chocolate is still warm.
Step 5: Let the bark cool at room temperature until it’s set, about 1-2 hours. For quicker setting, pop it in the fridge for 30 minutes.
Halloween Bark Hacks & Tips
- Ensure your chocolate is melted smoothly to avoid clumps or burning.
- Spread the chocolate thin for crisp, breakable shards.
- Add toppings while the chocolate is still warm to help them stick.
- If toppings aren’t adhering, briefly re-warm the surface or press them in gently.
Halloween Bark Blunders (And How to Fix Them)
- Over-heated chocolate or moisture hitting it.? If chocolate seizes or becomes grainy, add a splash of vegetable oil and gently re-melt.
- Adding toppings to wet or cold chocolate.? Damp toppings? Dry them in the oven for a few minutes before adding.
- Toppings not adhering.? If toppings aren’t sticking, warm the surface slightly or press them in firmly.
- Breaking the bark too early or unevenly.? If the bark cracks unevenly, re-warm slightly to soften before breaking.
Halloween Bark
Ingredients
Equipment
Method
- Line a baking sheet with parchment paper or a silicone mat to prepare for spreading the chocolate.
- Melt the dark chocolate in a microwave-safe bowl using short bursts, stirring in between, until smooth and glossy.
- Pour the melted dark chocolate onto the prepared sheet and spread it evenly with a spatula to about 1/4-inch thickness, creating a smooth, shiny surface.
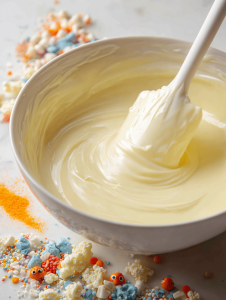
- Repeat melting the white chocolate in the microwave, stirring until fully smooth. If desired, add a few drops of food coloring to tint the white chocolate with a spooky hue.
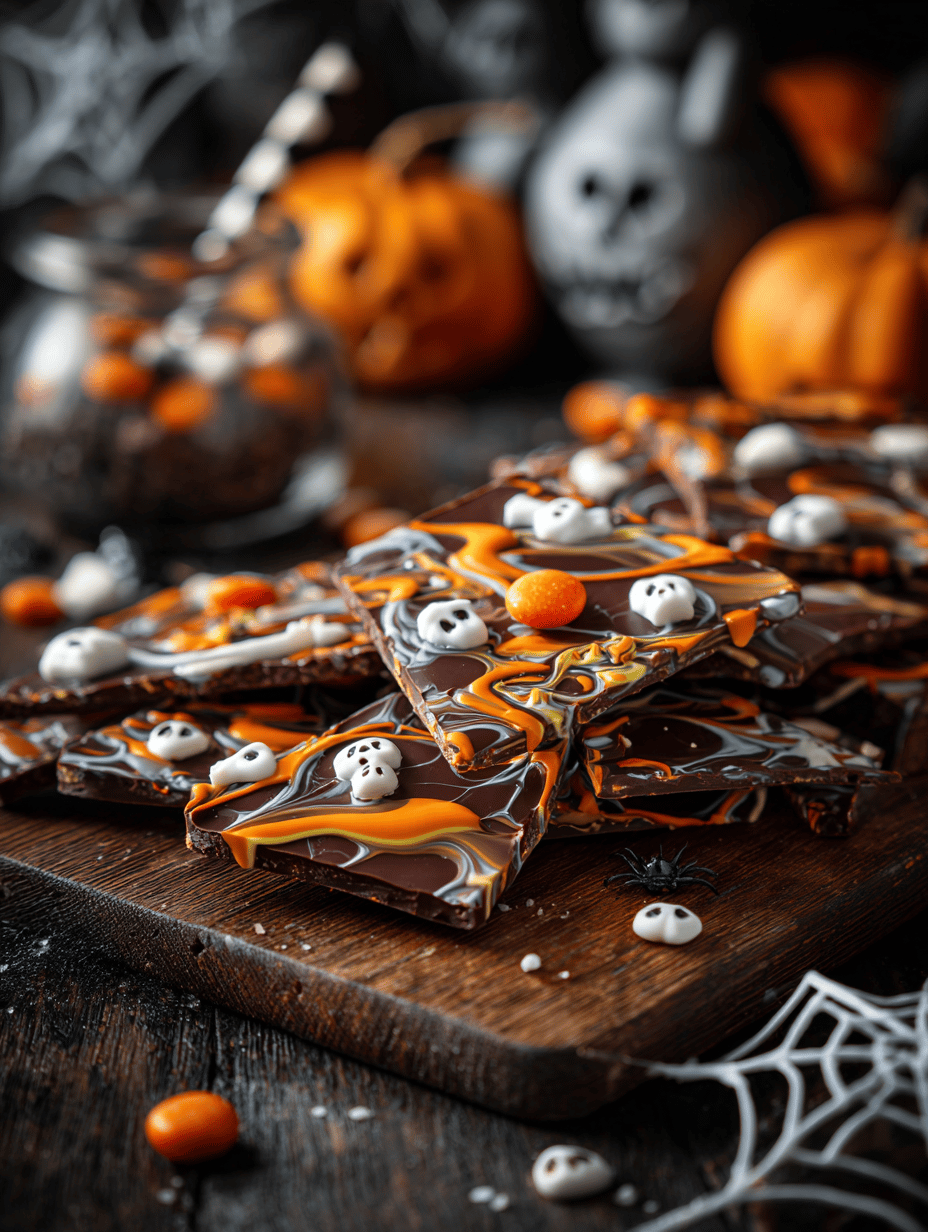
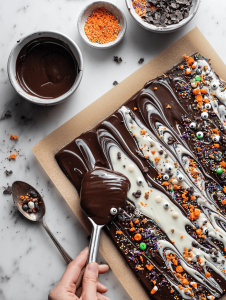
- Drizzle the melted white chocolate over the dark layer in a swirling pattern, creating a marbled effect for an eerie look.
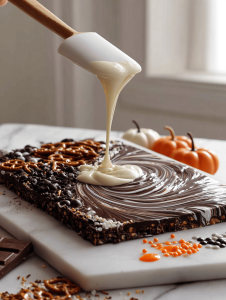
- Add your spooky toppings—sprinkles, candy eyes, crushed cookies, and edible glitter—while the chocolate is still warm and slightly tacky, pressing lightly to help them stick.

- Let the bark cool at room temperature for 1-2 hours until fully set. For quicker results, place it in the fridge for about 30 minutes.
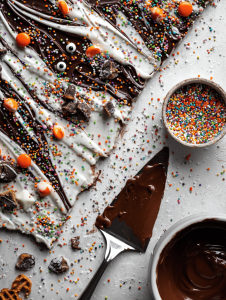
- Once cooled and firm, break the large sheet into rustic shards using clean hands or a sharp knife for a jagged, spooky appearance.
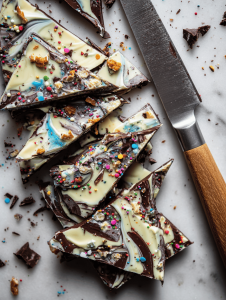
- Enjoy your festive Halloween bark, perfect for sharing at parties or as a spooky sweet treat!

Hi, I’m Madison Greene, the creator behind Texture Obsessed. If you have ever fallen in love with the crunch of a perfectly toasted crust, the silkiness of a smooth custard, or the contrast between crispy and creamy in a single bite, then you already understand what inspires me.

